-
Recently Viewed
You have no recently viewed items.
-
Featured Brands
- All Products
- About Us
- Contact Us
- Our Blog
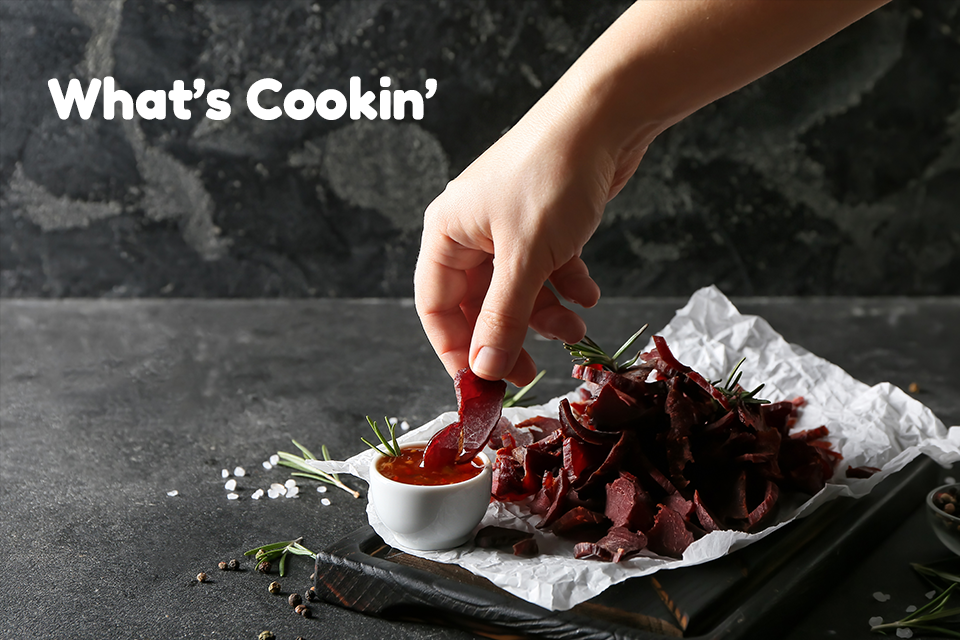
How To Make Beef Jerky: Your Guide to Homemade Beef Jerky
Are you considering stepping into the mysterious unknown and making your own beef jerky?
Meat aficionados like yourself have seen all the dupes. You can cook a steak better than any fancy restaurant can. Your smoked brisket is tastier than what you can find at the best barbecue joints.
And now, it’s time to expand your horizons and make your own beef jerky. We love the gumption that comes with doing it yourself here in the Jerky Universe!
[Related: How To Make Tender Beef Jerky]
Is Homemade Beef Jerky Worth It? Is It Healthy?
We know these are relative questions.
However, if you have the counter, fridge and freezer space to start your at-home jerky station, you might be all set to make beef jerky at home.
Depending on the ingredients you use, you can keep your beef jerky a healthy snack. The nutritional value really boils down to what meat cut and goodies you put in your homemade jerky.
For those sticking to the keto diet, beef jerky can be a great high-protein, low-carb food. Plus, homemade beef jerky can easily be gluten-free — just don’t add ingredients with gluten.
People with diabetes can safely munch on homemade beef jerky and know they’re getting the protein and potassium their bodies need. And for anyone looking to lose weight, beef jerky is high in protein and often low in fat, carbs and sugar. (Again, the key lies in the ingredients.)
Jerky’s truly the perfect snack — it packs an energizing protein punch and doesn’t end in sugar crashes. Protein also helps you feel fuller longer. And that means you won’t be as tempted to reach for a cookie to get you through those oh-so-busy days.
If your health doesn’t dictate your snack choices, then you can get pretty wild with your flavor profiles. Reach for the stars and make that mouthwatering marinade you’ve been eyeballing.
Note: We pride ourselves on providing healthy jerky, but we’re also prepared for folks with a sweet tooth who may peruse the Jerky Marketplace.
[Related: Two of Our Featured Beef Jerky Flavors for Gym Junkies]
Select the Best Cut for Homemade Beef Jerky
Fair warning: The beef jerky process is a long one. But that’ll make each bite of your very own homemade jerky that much better!
The best meat to make homemade beef jerky may not be what you imagine. Some people get into the homemade beef jerky game thinking they can use whatever’s cheapest at the grocery store. Others assume they should purchase the highest-quality steak that they’re accustomed to ordering from their favorite restaurant.
Toss those assumptions aside. Let’s focus on what’s best for making beef jerky!
Overall, you want to use quality cuts of lean meat for your beef jerky. It’s not necessarily about keeping it low-fat, either. It’s about cutting out avoidable and tedious legwork and getting the best results.
After all, it’s a lengthy process, and you want to adore your homemade beef jerky.
Note: You have all sorts of options beyond beef, too. You can even go for meatless jerkies, but the jerky-making steps may differ.
Start the Jerky Process
Now that you know how to pick the right cut of meat, it’s time to actually turn it into beef jerky.
First, trim off any visible fat. Then, wrap the beef in plastic wrap and place it in the freezer for an hour or two.
Next, remove the plastic wrap and cut the beef into uniform strips. Make sure to cut against the grain for ⅛-inch to ¼-inch strips. From there, mix your marinade and begin marinating the strips.
If you’re using any chunky ingredients like spicy peppers, toss them in a blender so all pieces are roughly equal in size. Depending on the flavor you’re aiming for, combine all marinade ingredients into either a bowl or a zip-seal bag and stir well.
Now, add the beef strips to the marinade, and make sure each strip is evenly coated. Place the bowl or bag in the refrigerator for six to 24 hours to let those flavors really soak in.
Then, drain the marinade from the strips and pat them dry. Now, it’s time to make jerky!
Choose Your Adventure: Four Ways To Make Homemade Beef Jerky
The jerky-making process doesn’t have hard-and-fast rules. You have many routes, and the appliance you have may make the choice easier.
If you own any of the devices listed below, you might as well give one a try. This helps you pinpoint your beef jerky preferences and really understand how results vary per the process.
1. Homemade Beef Jerky: Dehydrator
Place the strips of meat on the dehydrator rack. Make sure the strips have ample space and don’t touch or overlap. This extra room allows for good air circulation and creates evenly dehydrated meat.
Turn your dehydrator to 165 degrees Fahrenheit, and let it run for four to five hours.
2. Homemade Beef Jerky: Oven
Making beef jerky doesn’t require a fancy new appliance — your home oven is the ideal device for starting your homemade beef jerky journey.
First, cover the bottom rack of the oven with aluminum foil to avoid a drippy mess. Preheat the oven to 170 to 200 degrees Fahrenheit. Next, lay the strips of meat flat on a baking sheet.
When the oven is preheated, place the baking sheet with the strips of meat on the highest rack. Use a wooden spoon to prop open the oven door to allow moisture to escape.
The oven process can take three to eight hours. Check after three hours, and then keep cookin’ as needed.
3. Homemade Beef Jerky: Smoker
First, cover the drip pan with aluminum foil — you’ll prevent an hour of post-jerky cleanup.
Lay out the strips of meat evenly on the highest rack. Open the top vent of the smoker entirely. Allow the meat to dry for 90 minutes at 170 degrees Fahrenheit.
Next, raise the smoker temperature to 180 to 200 degrees Fahrenheit. Then, add a handful of wood chips that you’ve soaked in water for 15 minutes.
Leave to smoke for 30 to 60 minutes. You know the smoker is at the right temperature when blue smoke appears.
Finally, lower the temperature to 160 degrees Fahrenheit for another 30 to 60 minutes.
[Related: How To Make Beef Jerky in a Smoker]
4. Homemade Beef Jerky: Air Fryer
Place the marinated beef strips in the air fryer. Make sure they don’t touch or overlap. If you have room for an extra rack, put it to use to cook twice as much!
Next, set the air fryer to 210 degrees Fahrenheit. Cook for two hours. From there, continue to cook the jerky in 15-minute intervals until it’s done.
[Related: How To Make Beef Jerky in an Air Fryer]
How To Know When Your Jerky Is Done
The goal of the dehydration process is to remove moisture while getting the jerky’s internal temperature to reach 160 degrees Fahrenheit. You definitely don’t want your jerky to make you sick!
Check the jerky regularly throughout the drying process to avoid overdrying. You know the jerky’s done when it bends and cracks without breaking. Visible white fibers in the meat also signal the process is complete.
When the drying finishes, let the jerky sit on a cooling rack for two hours.
How Long Is Homemade Beef Jerky Good? How To Store It Properly for an Extended Shelf Life
Homemade beef jerky doesn’t have the same shelf life as store-bought jerky, so we suggest you get busy eating!
That said, you can extend jerky’s shelf life by one to two months by using a vacuum sealer. Otherwise, place the jerky in a zip-seal bag, glass jar or other container, and eat it within seven to 10 days.
If it gets too tough during that time, you can simply soften beef jerky. And if you’re feeling inventive, you can even try your homemade beef jerky in a recipe!
[Related: How Long Does Beef Jerky Last?]
Explore the Jerky Universe
Have more jerky-related questions? We have more jerky-related answers.
Follow us on social and subscribe to our newsletter below to continue exploring the Jerky Universe!
Featured image via Pixabay
Table of Contents
- Is Homemade Beef Jerky Worth It? Is It Healthy?
- Select the Best Cut for Homemade Beef Jerky
- Start the Jerky Process
- Choose Your Adventure: Four Ways To Make Homemade Beef Jerky
- How To Know When Your Jerky Is Done
- How Long Is Homemade Beef Jerky Good? How To Store It Properly for an Extended Shelf Life
- Explore the Jerky Universe
- Choosing a selection results in a full page refresh.


